Laser Cutting a
Laptop Stand/ Arduino function
STEP 1
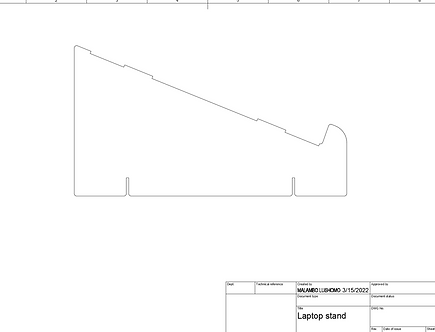
Create the design in fusion360. First begin by creating a leg. extrude it and duplicate it to create a second. next comes the top which is drawn on the top of the legs. create the holes on the top in order for the legs to slide through. next create the support beams by constructing an offset plane in the stand. use the cut tool in extrude to make holes through the legs for the supports to slide in. lastly duplicate this action to create a second support beam


STEP 2
Next convert the components into drawings and save them into your computer as DXF files

STEP 3
open the files in laser CAD, set the power and speed and download them into the laser cutter.
after complication put the piece together
the laptop stand is complete. the support beams ensure that it able to handle the weight of the object put on top of it. this laptop stand us made from acrylic
Materials used include:
a 9v battery
1 Arduino Uno board
1 LED ring light
an ultrasonic sensor